In Stock Writewell
Sold out
$25.00


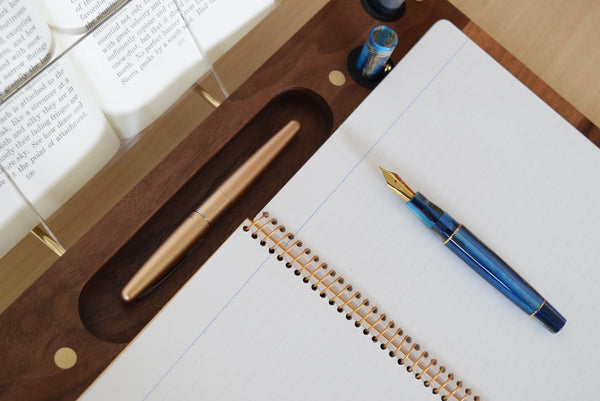
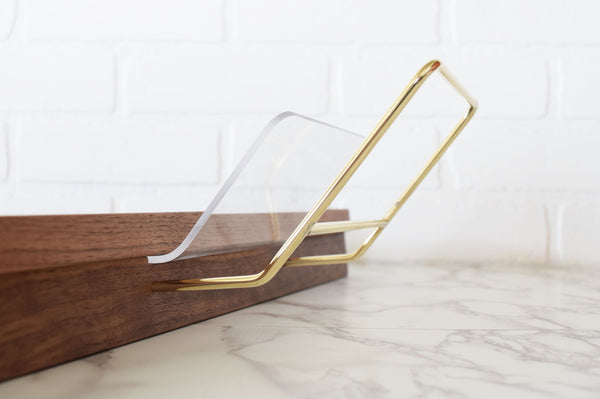
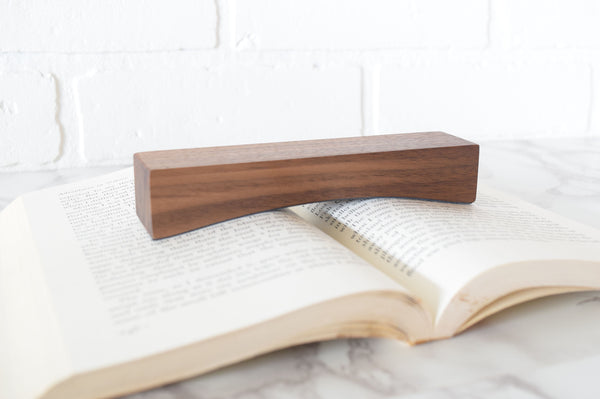
Our Drop Rollstop is an accessory to our Writewell portable writing desk that offers the ability to use the Writewell with a rollstop or without one, as it were. An 'L' shaped notch allows the rollstop to be lifted, moved to the side, and either raised or lowered without any tools. It can be installed in a right or left hand orientation which may make a difference if you find yourself unintentionally bumping it and dropping it down.
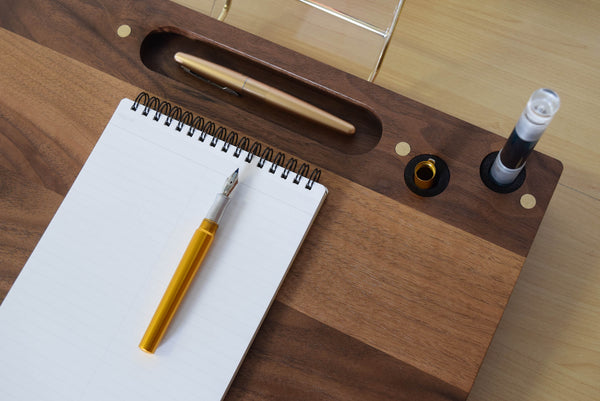
The Drop Rollstop easily attaches to any Writewell which already has holes drilled for a rollstop. It can be added to a Writewell without an existing rollstop if the user is comfortable drilling the appropriate holes in the front of the Writewell. It attaches by two flat head screws and includes two plastic washers for the screws to prevent scratching and marring between the screw head and the rollstop when being slid into position.
The base Drop Rollstop Kit includes one walnut Drop Rollstop, two plastic washers, and two brass screws. A second kit option includes a 7/64" drill bit. This bit has a 1/4" hex shank so it can be used in either standard drill chucks or 1/4" impact chucks.
A layout drawing can be viewed with the product images
1. Place a piece of painters tape across the front edge of the Writewell both to make marks on and to protect the finish as you work.
2. Find and mark the center point lengthways, approximately 8" in from each edge.
3. From this centerpoint make marks 4 1/2" on either side of it (the rollstop screws are spaced 9" apart).
4. At each of the marks you've already made, measure 0.5" up from the bottom of the front edge and make a mark. You should now have crosshairs for the two holes that need to be drilled. Note: These marks are not centered vertically on the edge of the Writewell, but are positioned so when the rollstop is lowered it sits flush with the front edge of the writing surface.
5. Double check that the holes are 9" apart, centered on the front edge, and are marked 0.5" up from the bottom of the Writewell. Lay the rollstop over the marks to visually check and make any adjustments as needed.
6. Drill holes with a 7/64" drill bit 0.5-0.75" deep. You can measure the depth on the drill bit and put a bit of tape there as a depth stop indicator. Keep the drill bit as square to the surface as possible as crooked screws can keep the rollstop from operating as smoothly as it should. Keep in mind the holes should be drilled parallel with the writing surface, not the table surface you may have it sitting on. It may be easiest to have the Writewell upside down so it is parallel with the table you're working on. You can then have the rollstop edge of the Writewell at the edge of the table (or hanging off a touch), giving you both clearance for a drill as well as a visual indicator to keep things parallel.
7. Carefully remove the painter's tape and install the rollstop with a thin blade screwdriver. Using painter's tape on the rollstop might be helpful if you're concerned with the screwdriver slipping and marring the rollstop. Don't forget the washers--they should be on the screws before putting the screws in.
8. Tighten slowly just enough to keep the rollstop from being moved, then back off until it moves as you'd prefer. I prefer to keep it tighter rather than looser so it can't easily be bumped down, but you may find another setup to your liking. Play around with the adjustments until you have it where you'd like it. Keep in mind that the rollstop fit may change with environmental conditions (i.e. humidity) and it may require periodic adjustment for the best fit.